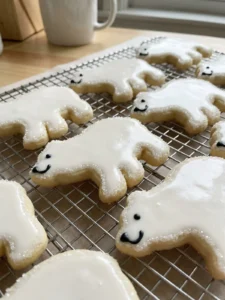
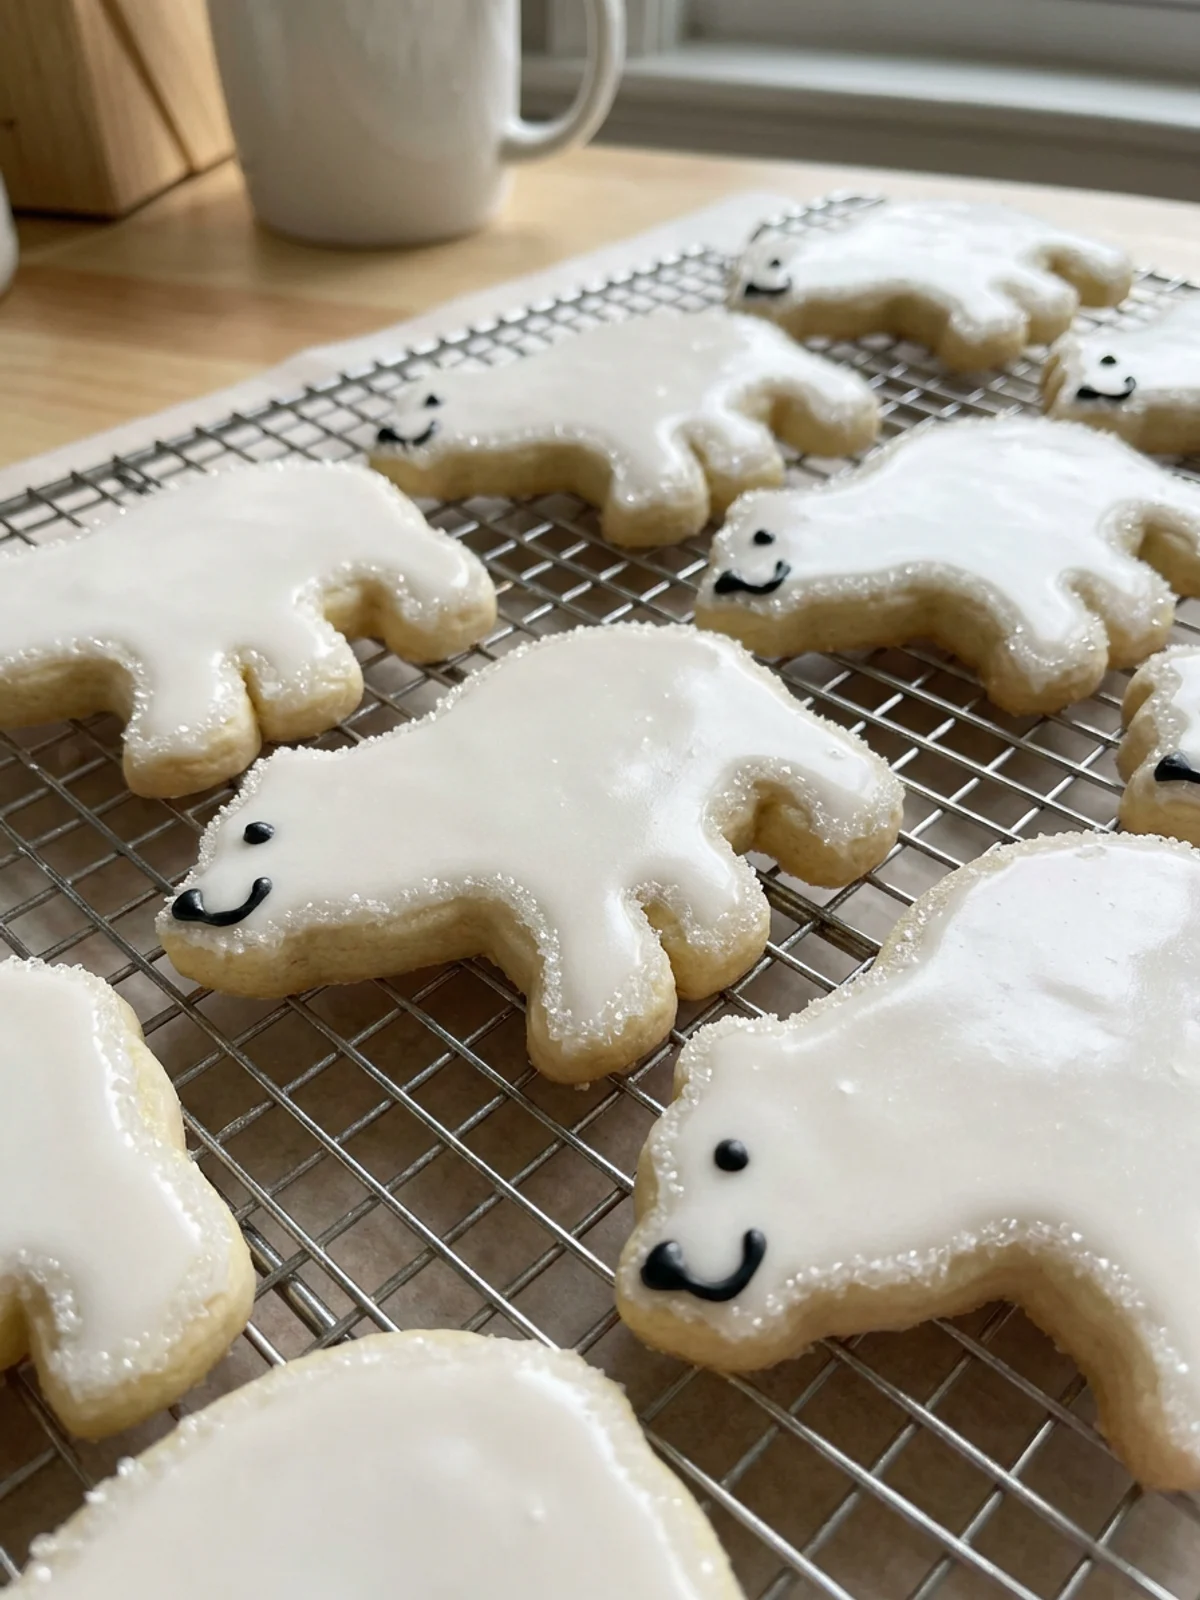
These easy polar bear cookies turn a standard sugar cookie dough into a fun winter treat. A bear-shaped cookie cutter creates the base, while a simple dip in a white powdered sugar glaze provides a smooth canvas for the decorations.
Jump to:
- Why will you love <strong>Easy Polar Bear Cookies</strong>?
- <strong>Easy Polar Bear Cookies Ingredients</strong>
- How to Make Easy Polar Bear Cookies
- Step 1: Bake the cookies
- Step 2: Apply the base glaze
- Step 3: Add the textured border
- Step 4: Pipe the details
- What to Serve with Easy Polar Bear Cookies
- Helpful Tricks for Easy Polar Bear Cookies
- How to Store and Freeze Easy Polar Bear Cookies
- Easy Polar Bear Cookies Recipe FAQs
- How do I prevent the cookies from spreading in the oven?
- Can I use regular vanilla extract instead of clear?
- Why is my sanding sugar not sticking?
The decorating process uses a mix of standard royal icing and sanding sugar to give the bears a slightly fuzzy look. You can use your preferred homemade cut-out cookie dough or a store-bought version to save time on a busy weekend.
Why will you love Easy Polar Bear Cookies?
Dipping the cookies directly into the thin glaze creates a smooth, even base layer without the need to pipe and flood the entire cookie.
Sanding sugar sticks to the piped royal icing border to add visual texture to the ears and body.
Using prepared black icing for the eyes and nose keeps the detail work quick and precise.
Easy Polar Bear Cookies Ingredients
• Cookie dough: Choose a recipe designed for cut-out cookies so the bears hold their shape in the oven. Standard sugar cookie or shortbread dough works well.
• Powdered sugar: Sift the sugar before mixing the glaze to prevent lumps.
• Clear vanilla extract: This provides flavor without altering the bright white color of the glaze. Almond or coconut extract are good alternatives.
• White sanding sugar: Look for a coarse, sparkling sugar to mimic the look of snow or fur.
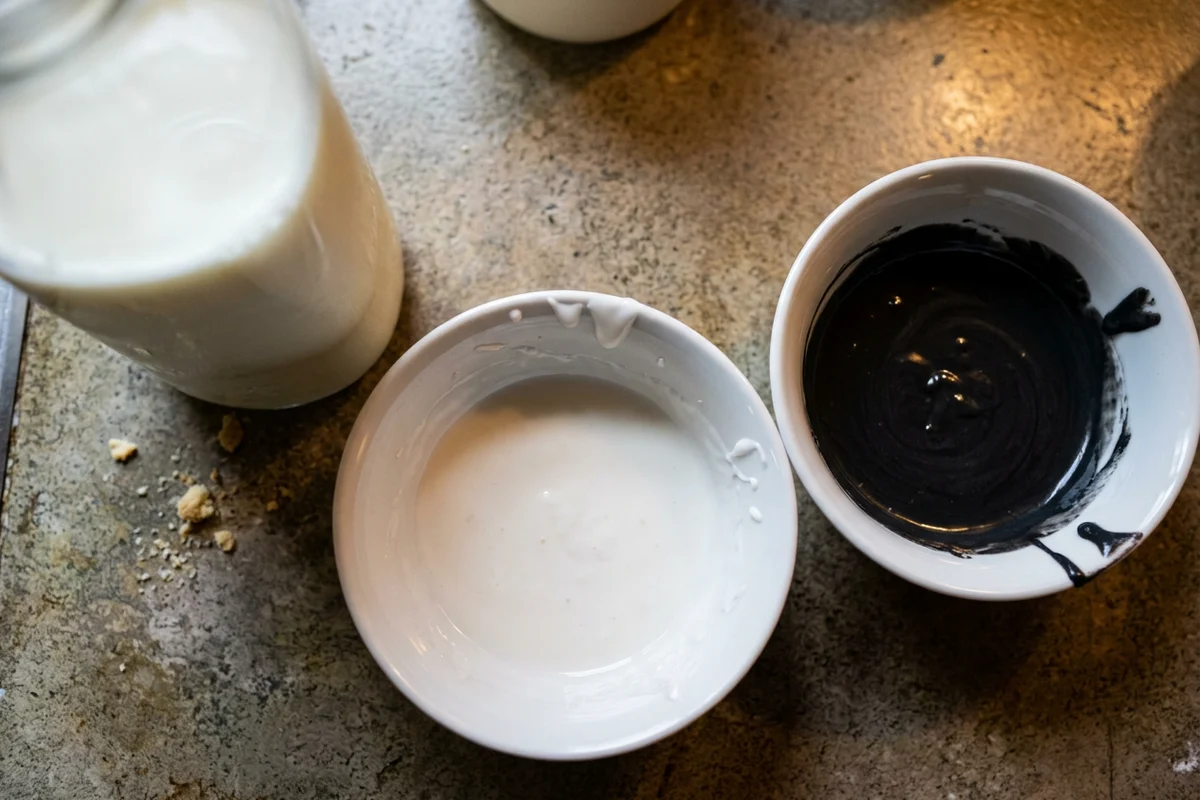
• Royal icing: You need a stiff piping consistency to hold the sanding sugar and define the facial features.
Exact quantities are in the recipe card below.
How to Make Easy Polar Bear Cookies
Step 1: Bake the cookies
Roll out the chilled dough to an even thickness. Cut out the bear shapes and bake them until they are set but still pale.
Step 2: Apply the base glaze
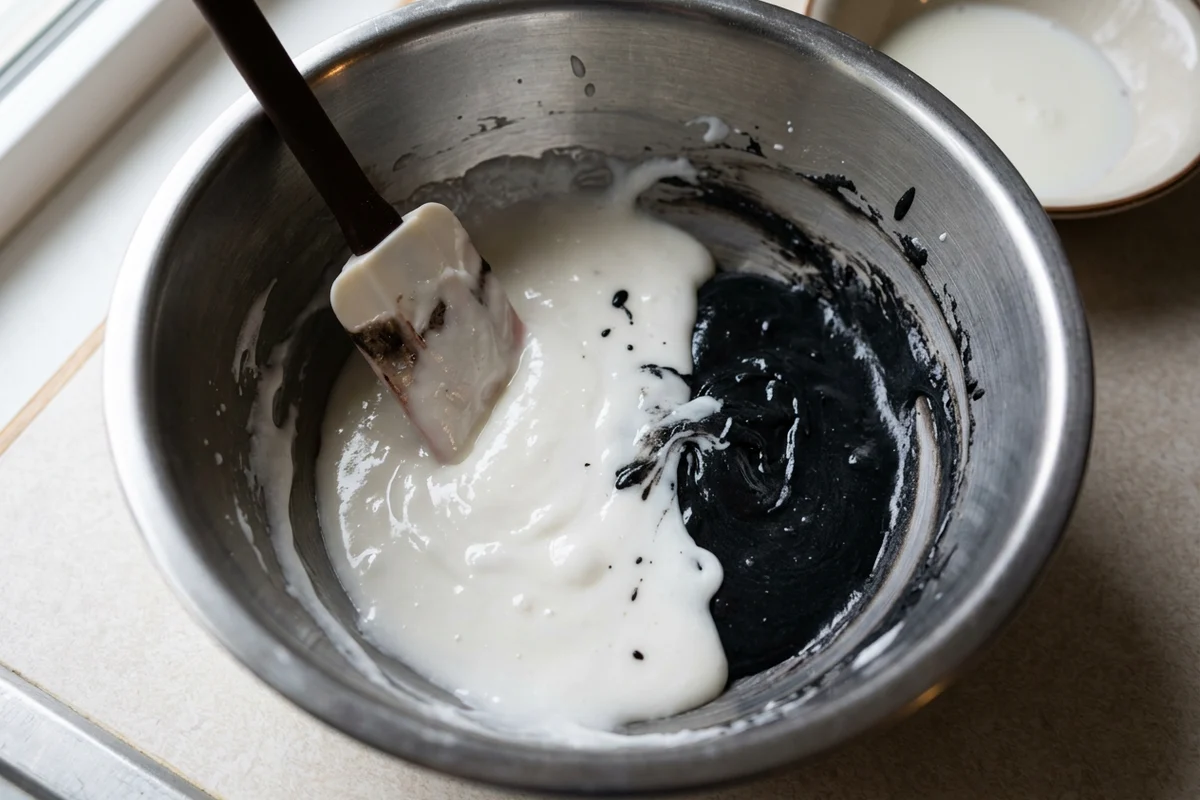
Mix the powdered sugar, milk, and clear extract to form a thin glaze. Dip the top of each cooled cookie into the mixture and let it set.
Step 3: Add the textured border
Pipe a border and snout using white royal icing. Cover the wet icing with sanding sugar to create a textured outline.
Step 4: Pipe the details
Use black royal icing to draw the eyes, nose, and paws. Let the cookies dry completely before handling them.

What to Serve with Easy Polar Bear Cookies
Serve these cookies with a warm mug of hot chocolate or a glass of cold milk. They also pair well with a winter-themed dessert platter featuring peppermint candies and chocolate truffles.
Helpful Tricks for Easy Polar Bear Cookies
Using clear vanilla extract keeps the base glaze bright white. Standard vanilla will give the glaze an off-white tint.
If the base glaze is too thick to dip easily, add milk one teaspoon at a time until it reaches a smooth consistency.
You can use store-bought royal icing or make a small batch from meringue powder to save time.
How to Store and Freeze Easy Polar Bear Cookies
Store the fully dried cookies in an airtight container at room temperature for up to one week. You can freeze the baked, undecorated cookies for up to three months. Thaw them at room temperature before adding the glaze and icing.
Easy Polar Bear Cookies Recipe FAQs
How do I prevent the cookies from spreading in the oven?
Chill the cut-out dough on the baking sheet for 15 minutes before baking. This helps the butter firm up so the bears keep their shape.
Can I use regular vanilla extract instead of clear?
Yes, but regular vanilla will give the base glaze a slight ivory tint. The cookies will still taste the same.
Why is my sanding sugar not sticking?
The royal icing border might have dried too quickly. Pipe the border on one cookie at a time and apply the sanding sugar immediately while the icing is still wet.

Easy Polar Bear Cookies
Ingredients
- 1 batch prepared sugar cookie dough enough for 12 cookies
- 2 cups powdered sugar 240 g
- 1/4 cup milk 60 ml
- 1/2 teaspoon clear vanilla extract
- 1/4 cup white sanding sugar 50 g
- 1/2 cup prepared white royal icing 120 ml
- 1/4 cup prepared black royal icing 60 ml
Instructions
- Preheat the oven to 350°F (175°C). Line two baking sheets with parchment paper.
- Roll out the cookie dough on a floured surface to an even 1/4-inch (6 mm) thickness. Cut out shapes using a bear cookie cutter and place them on the prepared baking sheets.
- Bake one sheet at a time for 5 to 7 minutes, until the cookies are baked through but not browned. Let them cool on the pan for 2 minutes, then transfer to a wire rack to cool completely.
- Whisk the powdered sugar, milk, and clear vanilla extract in a bowl until smooth. Let the mixture sit for a minute, then gently stir to remove any air bubbles.
- Place the wire rack of cooled cookies over a piece of parchment paper. Dip the top of each cookie into the white glaze, letting the excess drip off. Let the glaze dry completely.
- Place the white royal icing in a piping bag with a small round tip. Pipe an outline around the edge of the bear and an oval for the snout.
- Sprinkle the white sanding sugar over the wet white royal icing. Let it dry, then gently brush off the excess sugar.
- Place the black royal icing in a piping bag with a very small round tip. Pipe two eyes, a nose on the snout, and small paws. Let all icing dry entirely before storing.