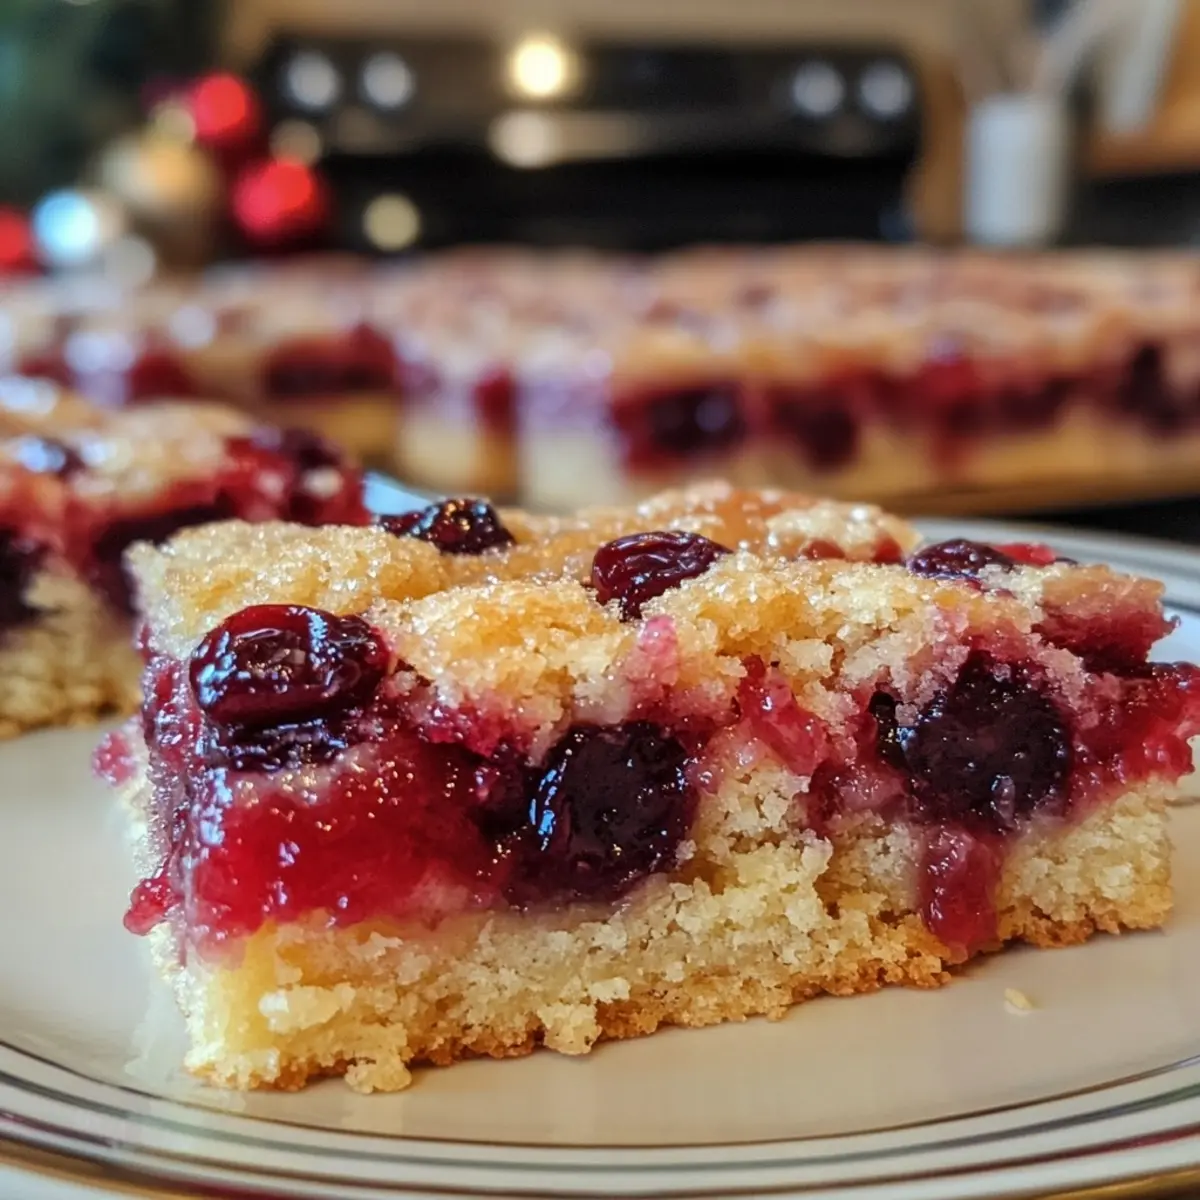
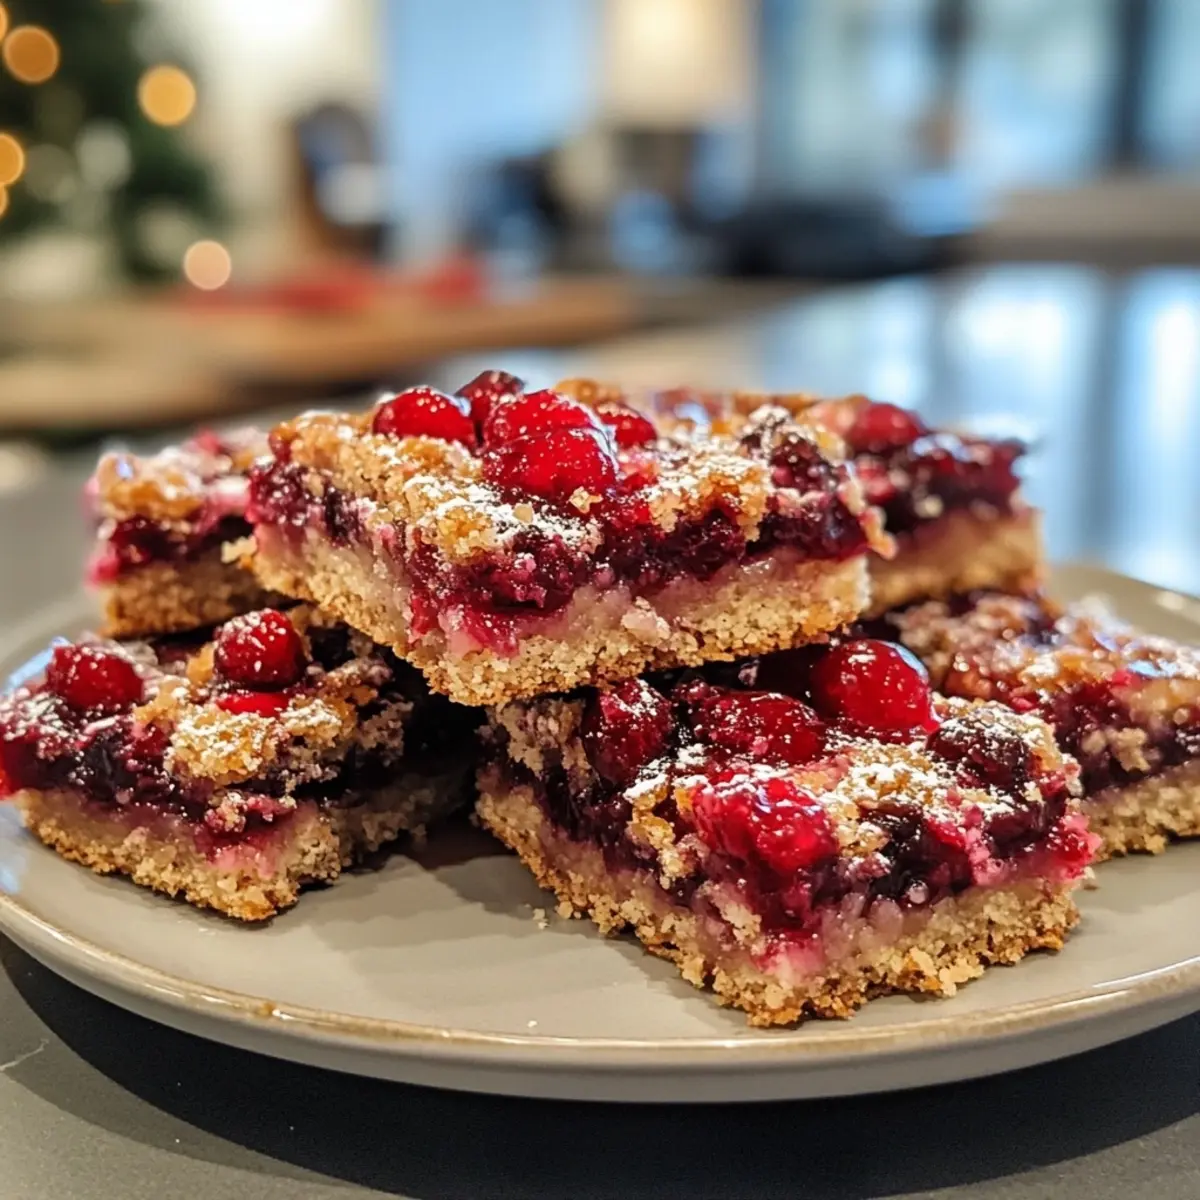
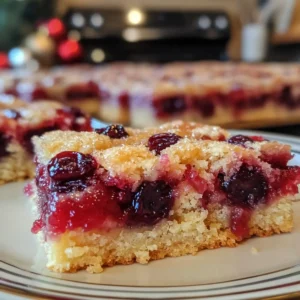
As the holiday season approaches, there’s an unmistakable buzz in the air—a blend of festive cheer, warm gatherings, and delightful aromas wafting through kitchens. One delicious moment that encapsulates this spirit for me is biting into a soft, buttery Christmas Cherry Bar. With every mouthful, I’m transported back to family gatherings filled with laughter and joy, where these sweet-tart bars were the highlight of the dessert table.
Jump to:
- Why are <strong>Christmas Cherry Bars</strong> a must-try?
- <strong>Christmas Cherry Bars Ingredients</strong>
- How to Make Christmas Cherry Bars
- <strong>Christmas Cherry Bars</strong> Variations
- Expert Tips for Christmas Cherry Bars
- Make Ahead Options
- How to Store and Freeze Christmas Cherry Bars
- What to Serve with <strong>Christmas Cherry Bars</strong>?
- Christmas Cherry Bars Recipe FAQs
I discovered this easy baking gem during a bustling family holiday prep, and it quickly became a cherished tradition in my kitchen. With a luscious vanilla glaze drizzled over a tender crust and a burst of cherry goodness, these bars are not just a treat for the palate; they also bring a vibrant touch to holiday festivities. Whether you’re looking to impress guests or simply want to enjoy a homemade dessert, these Christmas Cherry Bars are sure to spread joy and sweetness in every bite. So, roll up those sleeves and let’s get baking!
Why are Christmas Cherry Bars a must-try?
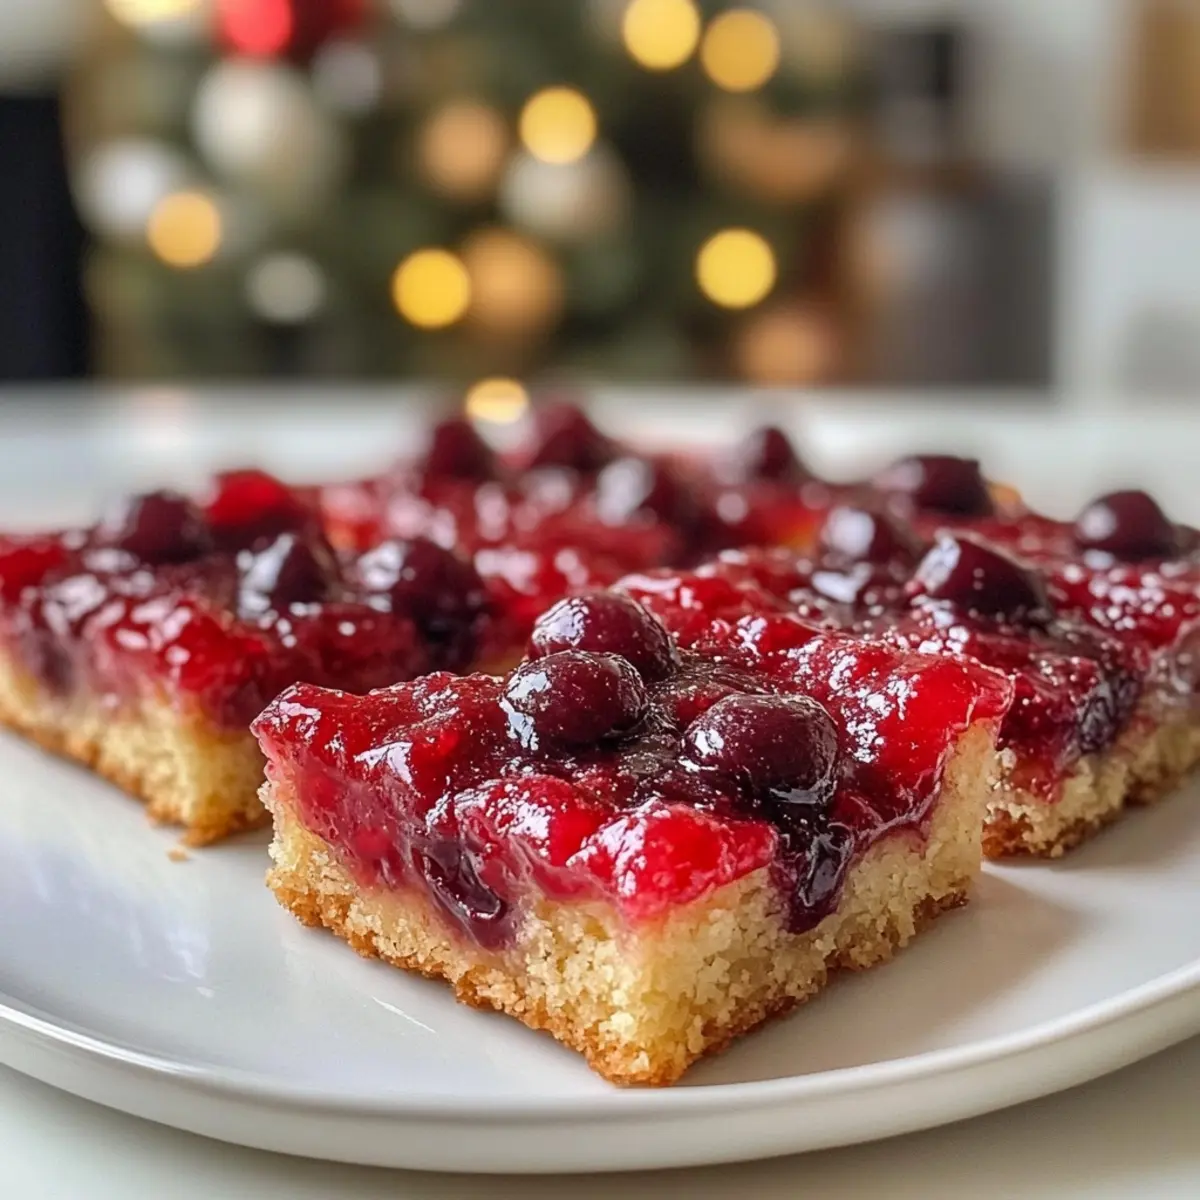
Irresistible flavors: The combination of sweet-tart cherries and rich vanilla glaze creates a burst of festive flavor in every bite.
Easy to make: With simple ingredients and straightforward steps, even novice bakers can whip these up without stress!
Perfect for sharing: Ideal for holiday gatherings or as homemade gifts, these bars are guaranteed to appeal to crowds.
Versatile options: Feel free to customize! Swap the cherry filling for other fruits, or add crunchy nuts for added texture.
Joyful tradition: Make these Christmas Cherry Bars a staple in your holiday baking repertoire, just like you would with Snickerdoodle Cheesecake Bars that everyone loves!
Christmas Cherry Bars Ingredients
- For the Base
- Unsalted Butter – Adds richness and moisture; ensure it’s softened for easy creaming with sugar.
- Granulated Sugar – Provides sweetness and structure; can substitute with brown sugar for a deeper flavor.
- Large Eggs – Binds the ingredients together and adds moisture; free-range eggs can enhance flavor.
- Vanilla Extract – Enhances sweetness and adds depth; use pure vanilla extract for best results.
- Almond Extract – Adds a bakery-style depth to the cherry flavor; optional, can be omitted for a simpler taste.
- All-Purpose Flour – Forms the main structure of the bars; gluten-free flour blend works as a substitute.
- Salt – Balances sweetness and enhances flavor; use sea salt or kosher salt as desired.
- For the Filling
- Cherry Pie Filling – Provides the sweet-tart cherry flavor; any other fruit filling can be used for variations.
- For the Glaze
- Powdered Sugar – Used for the glaze, providing sweetness and a smooth texture; can be reduced for a less sweet topping.
- Milk or Cream – Thins the glaze to desired consistency; almond milk or other milk alternatives can be used.
- Cherry Syrup – Adds color and an extra burst of flavor; can be substituted with a red fruit syrup for visual appeal.
How to Make Christmas Cherry Bars
- Preheat the oven to 350°F (175°C). Prepare a 9×13-inch baking pan by greasing it or lining it with parchment paper, which makes for easy removal later.
- Cream the softened butter and granulated sugar in a large bowl until the mixture is light and fluffy, about 3-5 minutes. This step is key for achieving that tender texture.
- Add the eggs one at a time, mixing well after each addition. Stir in the vanilla and almond extracts for an aromatic boost that enhances the flavor profile.
- Combine the flour and salt in a separate bowl, then gradually blend this into the wet ingredients, mixing until your batter is smooth and creamy. You want it to be lump-free!
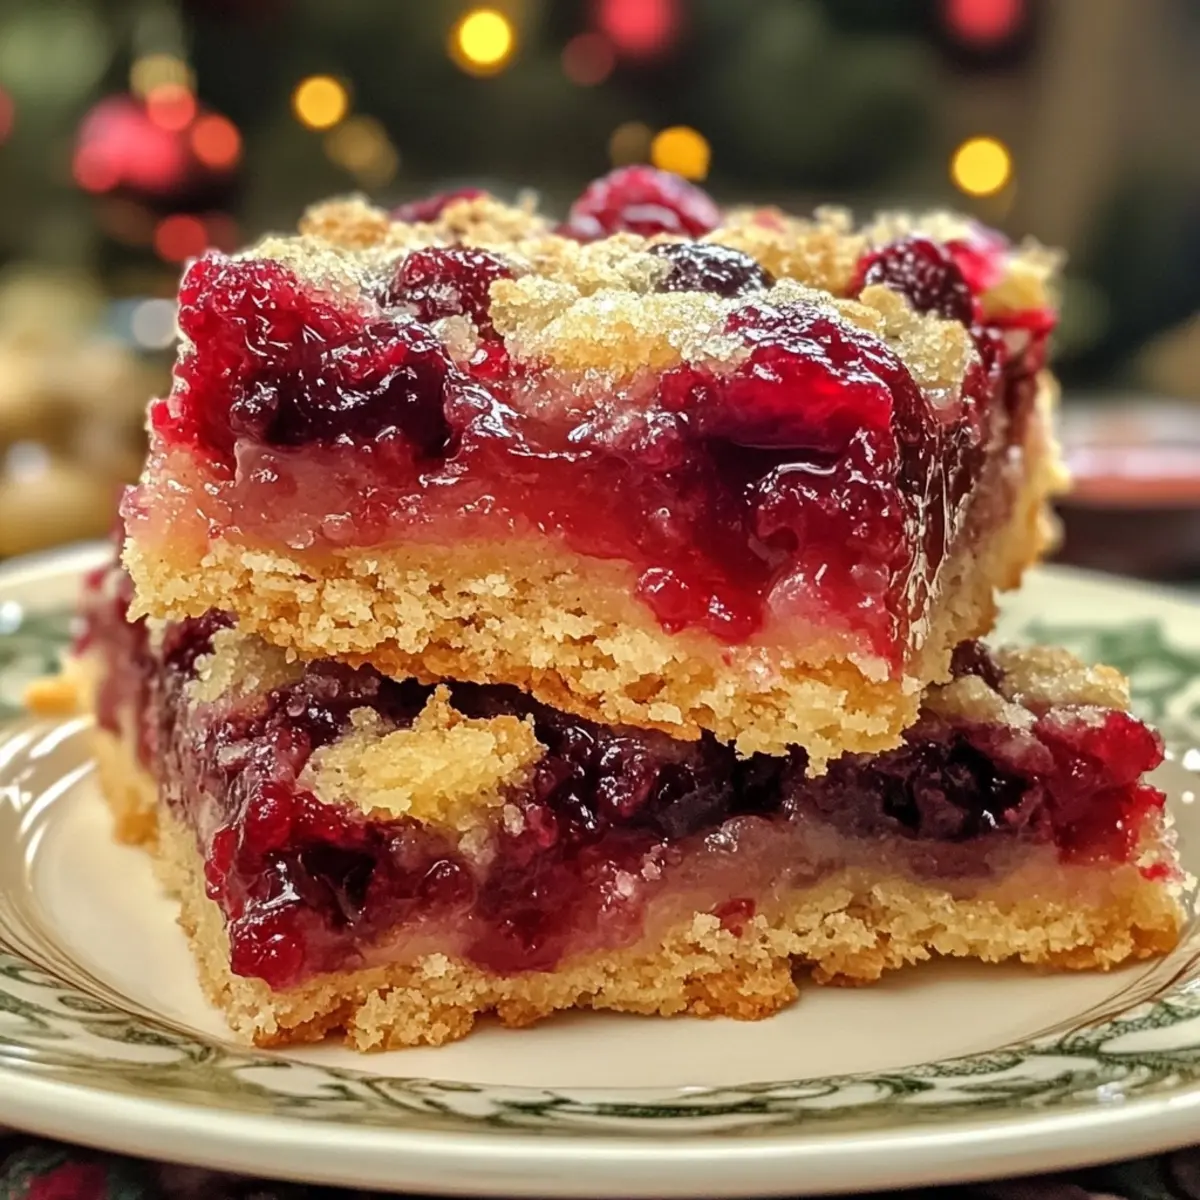
- Spread two-thirds of the batter evenly into the prepared pan, creating a solid base for the tasty cherry layer.
- Spoon the cherry pie filling evenly over the batter, ensuring every bite will have that sweet-tart delight!
- Drop spoonfuls of the remaining batter over the cherry filling, leaving some gaps for the cherries to peek through. It doesn’t need to be perfect; rustic is charming!
- Bake for 35 to 40 minutes or until the top is lightly golden brown and a toothpick inserted in the center comes out clean—this means they’re perfectly baked!
- Cool the bars completely in the pan before glazing. Patience here is essential for clean slices!
- Whisk together powdered sugar, milk, and vanilla in a bowl until the glaze is smooth. Spread it generously over the cooled bars and drizzle with cherry syrup for a festive touch!
Optional: Garnish with chopped nuts for added texture and a nice crunch.
Exact quantities are listed in the recipe card below.
Christmas Cherry Bars Variations
Feel free to let your creativity shine and customize these delightful bars to suit your taste!
- Dairy-Free: Substitute almond milk for regular milk and use dairy-free butter for a luscious glaze that everyone can enjoy.
- Nutty Crunch: Fold in chopped walnuts or pecans into the batter for a satisfying crunch that complements the soft cherry filling beautifully.
- Flavor Boost: A splash of fresh lemon or orange zest in the batter will elevate the flavors and add a pleasant citrus note to the bars.
- Chocolate Drizzle: Drizzle melted dark or white chocolate over the glaze for a touch of decadence that adds an irresistible sweetness.
- Fruit Alternatives: Swap cherry pie filling for blueberry, peach, or even apple for a refreshing twist that’s just as festive!
- Spicy Kick: Sprinkle a pinch of cinnamon or nutmeg into the batter for a warm, spicy flavor that pairs wonderfully with the cherries.
- Granola Topping: Top the bars with a layer of granola before baking for a heartier, textured finish that packs extra taste and nutrients.
- Reduced Sugar: Substitute some of the granulated sugar with applesauce to make a lower-sugar version that still delivers on flavor and moisture.
Let your imagination run wild and create your very own signature Christmas Cherry Bars!
Expert Tips for Christmas Cherry Bars
- Room Temperature Butter: Ensure the butter is at room temperature for easy mixing, which helps achieve that desirable fluffy texture in your Christmas Cherry Bars.
- Cooling Time: Allow the bars to cool completely before glazing to maintain clean edges when slicing. This prevents the glaze from melting into the warm bars.
- Parchment Paper: Using parchment paper for lining your baking pan makes it effortless to remove the bars after baking and ensures cleaner cuts.
- Ingredient Quality Matters: Use pure vanilla extract instead of imitation for the best flavor. Fresh, high-quality ingredients make a noticeable difference in your dessert.
- Avoid Overbaking: Keep an eye on them while baking! The bars should be golden and a toothpick inserted should come out clean to avoid dryness and maintain that lovely texture.
Make Ahead Options
These Christmas Cherry Bars are perfect for meal prep, allowing you to free up time during the busy holiday season! You can prepare the batter up to 24 hours in advance by mixing the wet and dry ingredients separately, then refrigerating them until you are ready to bake. This method helps maintain the fluffy texture of the bars. Additionally, you can bake the bars a day ahead, allow them to cool completely, and store them in an airtight container at room temperature for 2 to 3 days. When it’s time to serve, simply whip up the glaze and drizzle it on top for a fresh finish, ensuring your dessert is just as delicious as the day it was made!
How to Store and Freeze Christmas Cherry Bars
Room Temperature: Store in an airtight container at room temperature for up to 4 days to maintain their freshness and flavor.
Fridge: For longer storage, refrigerate the bars in an airtight container for up to 1 week. This helps keep the glaze firm and prevents spoiling.
Freezer: Freeze the Christmas Cherry Bars wrapped tightly in plastic wrap and then in aluminum foil for up to 3 months. Thaw overnight in the fridge before serving.
Reheating: Gently reheat in a warm oven (around 300°F) for about 10 minutes if you prefer them warm. Enjoy that fresh-out-of-the-oven experience!
What to Serve with Christmas Cherry Bars?
These vibrant, sweet-tart delights are the perfect centerpiece for any holiday gathering, and pairing them with complementary flavors elevates your dessert experience.
- Rich Vanilla Ice Cream: The creamy richness of vanilla ice cream beautifully balances the sweet-tart flavors of the bars, making each bite a heavenly experience.
- Warm Cinnamon Apples: Spiced and warm, these apples add a comforting, homey note that complements the cherry filling and enhances the holiday spirit.
- Festive Hot Chocolate: A cup of rich hot chocolate topped with marshmallows creates a cozy pairing, perfect for enjoying while savoring these delightful bars.
- Nutty Shortbread Cookies: The buttery and crunchy texture of shortbread adds a wonderful contrast to the softness of the cherry bars, enhancing the holiday treat aspect.
- Sparkling Cider: The bubbly, fruity notes of sparkling cider refresh the palate and add a festive touch that mirrors the joyous flavors of your dessert.
- Caramel Sauce Drizzle: A drizzle of warm caramel over the bars adds an indulgent sweetness that beautifully contrasts with the tartness of the cherries.
- Creamy Cheesecake Bites: Little bites of creamy cheesecake can be a perfect addition, their rich texture a delectable complement to the fruitiness of the cherry bars.
Not only do these pairings elevate the experience of eating Christmas Cherry Bars, but they also create a festive atmosphere that brings joy to every gathering.
Christmas Cherry Bars Recipe FAQs
How should I select cherries for the filling?
Absolutely! When choosing cherries for your Christmas Cherry Bars, look for plump, firm cherries with a vibrant color. Avoid any with dark spots or blemishes. If using canned cherry pie filling, ensure it has a good balance of sweet and tart flavors, and check the expiration date for freshness.
What’s the best way to store Christmas Cherry Bars?
Very good question! Store your Christmas Cherry Bars in an airtight container at room temperature for up to 4 days. If you notice them starting to dry out, they can also be refrigerated for up to 1 week. Just make sure to keep them covered to preserve that glorious glaze!
Can I freeze Christmas Cherry Bars, and if so, how?
Yes, you can! To freeze your Christmas Cherry Bars, wrap them tightly in plastic wrap and then in aluminum foil. This helps to protect them from freezer burn. They can be frozen for up to 3 months. When you’re ready to enjoy them, simply thaw them overnight in the refrigerator before serving.
What if my bars are too dry after baking?
If your Christmas Cherry Bars turn out dry, it could be due to overbaking—internal temperatures can vary by oven. Try reducing the baking time by a few minutes next time or using an oven thermometer to check your temperature accuracy. Remember, the bars should be golden on top, and a toothpick should come out clean but not dry.
Are these bars safe for people with nut allergies?
Absolutely! If you’re serving guests with nut allergies, simply omit the almond extract in the recipe. Your Christmas Cherry Bars will still be delicious and flavorful with just the vanilla extract. Always double-check ingredients like the cherry pie filling to ensure they are nut-free.
Can pets eat the cherries used in the bars?
Great question! While cherries can be safe for most pets, the pits can pose a choking hazard. If you’re considering sharing these treats with your furry friends, it’s better to skip giving them anything that contains cherries or opt for pet-safe treats instead. Always consult your veterinarian for dietary advice tailored to your pet.
Irresistibly Sweet Christmas Cherry Bars: A Festive Delight
Equipment
- 9x13-inch baking pan
- large bowl
- Whisk
Ingredients
For the Base
- 1 cup Unsalted Butter softened
- 1 cup Granulated Sugar
- 2 large Large Eggs free-range recommended
- 1 teaspoon Vanilla Extract pure recommended
- 1 teaspoon Almond Extract optional
- 2 cups All-Purpose Flour gluten-free blend can be used
- 0.5 teaspoon Salt sea or kosher salt
For the Filling
- 1 can Cherry Pie Filling
For the Glaze
- 1 cup Powdered Sugar
- 2 tablespoons Milk or Cream milk alternatives can be used
- 2 tablespoons Cherry Syrup optional for drizzling
Instructions
How to Make Christmas Cherry Bars
- Preheat the oven to 350°F (175°C). Prepare a 9x13-inch baking pan by greasing it or lining it with parchment paper.
- Cream the softened butter and granulated sugar in a large bowl until light and fluffy, about 3-5 minutes.
- Add the eggs one at a time, mixing well after each addition. Stir in the vanilla and almond extracts.
- Combine the flour and salt in a separate bowl, then gradually blend into the wet ingredients until smooth.
- Spread two-thirds of the batter evenly into the prepared pan.
- Spoon the cherry pie filling evenly over the batter.
- Drop spoonfuls of the remaining batter over the cherry filling.
- Bake for 35 to 40 minutes or until the top is lightly golden brown and a toothpick inserted comes out clean.
- Cool the bars completely in the pan before glazing.
- Whisk together powdered sugar, milk, and vanilla until the glaze is smooth, then spread it over the cooled bars.
Notes